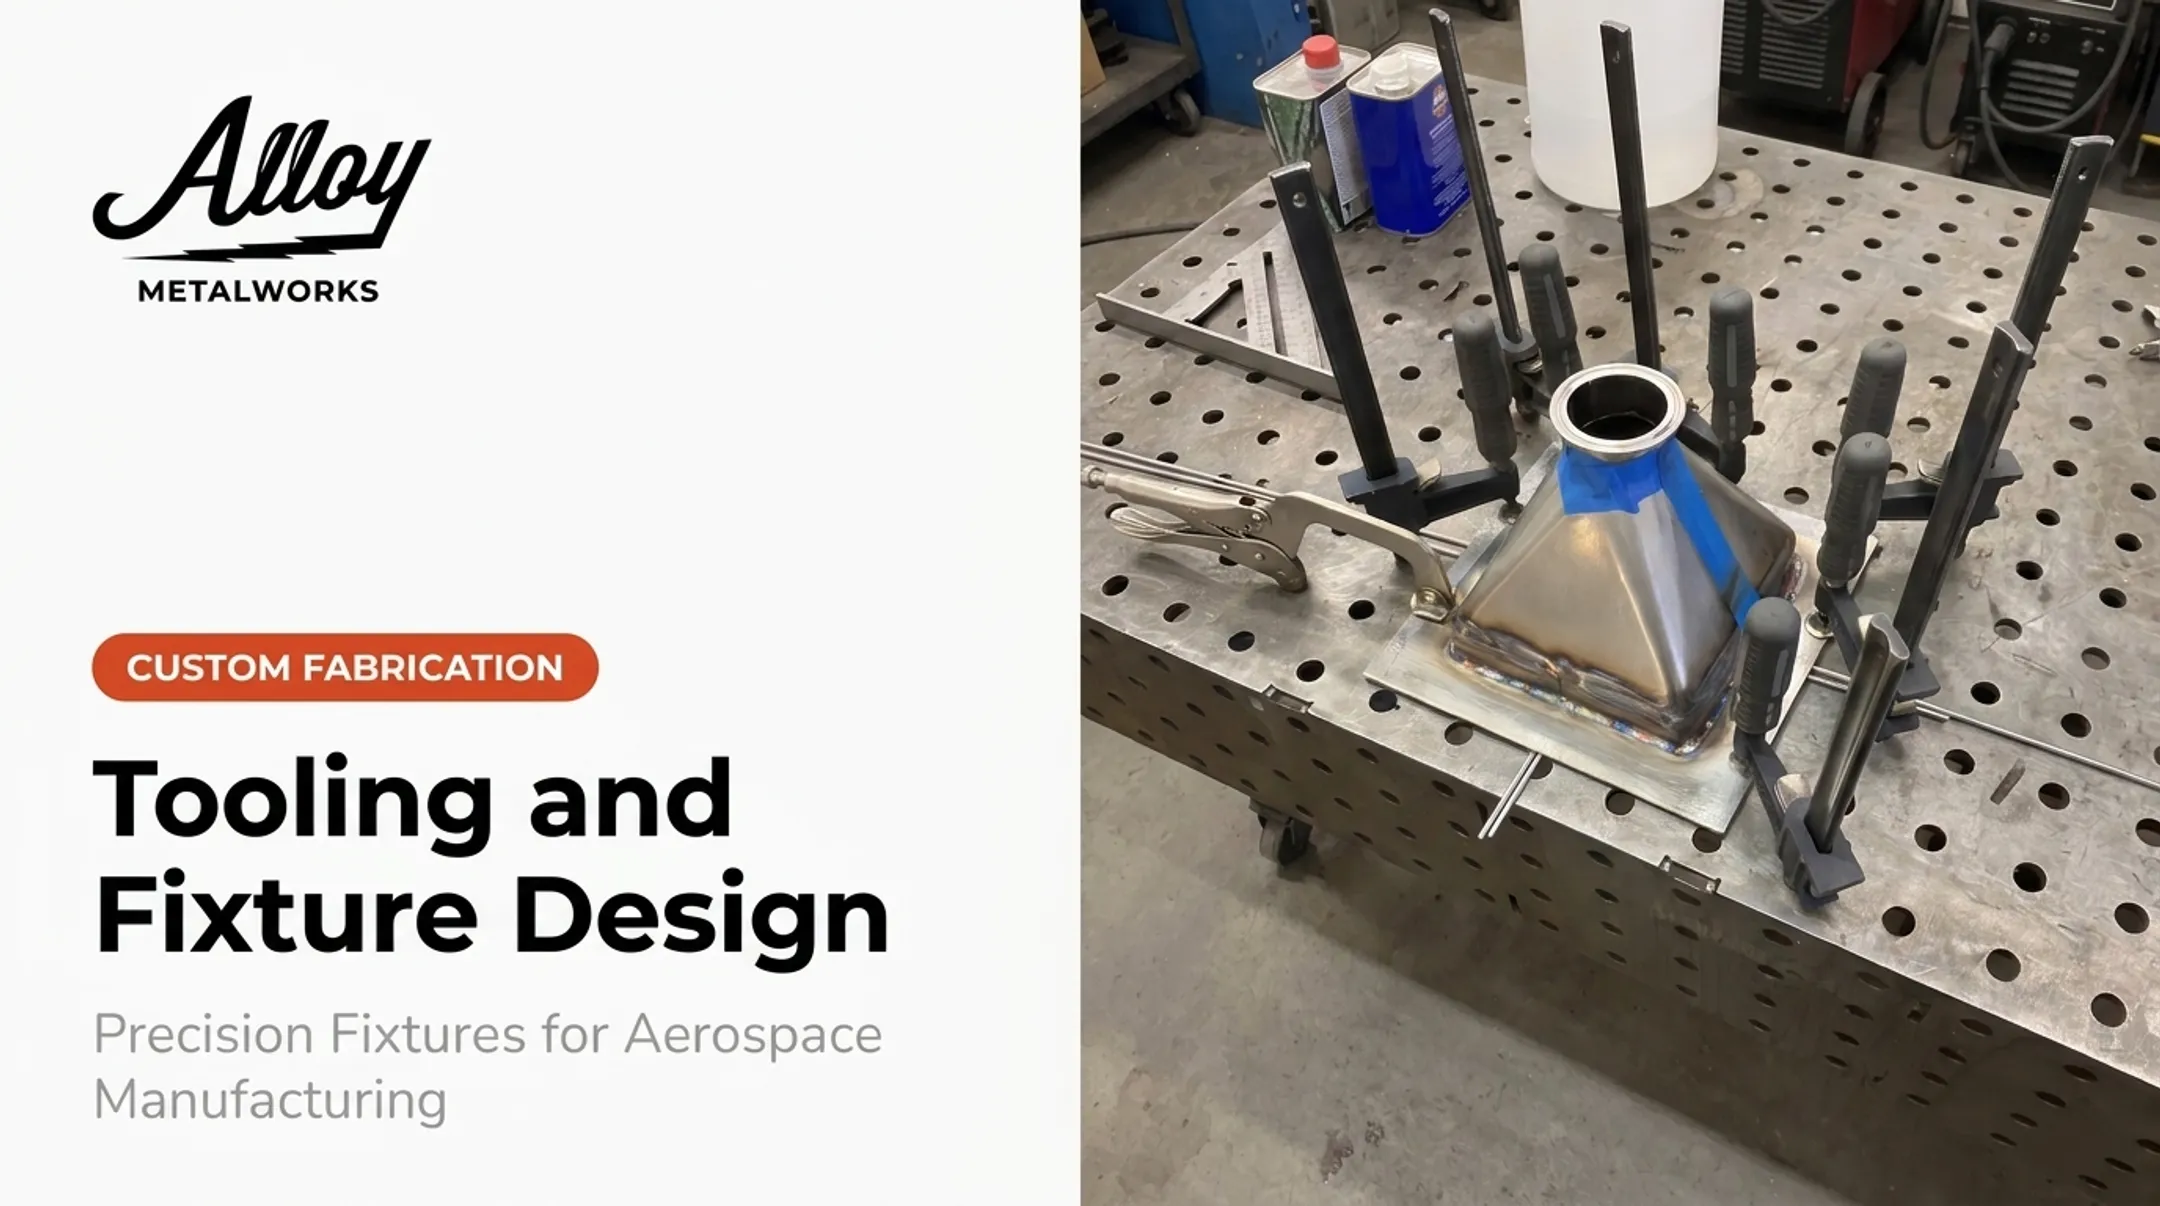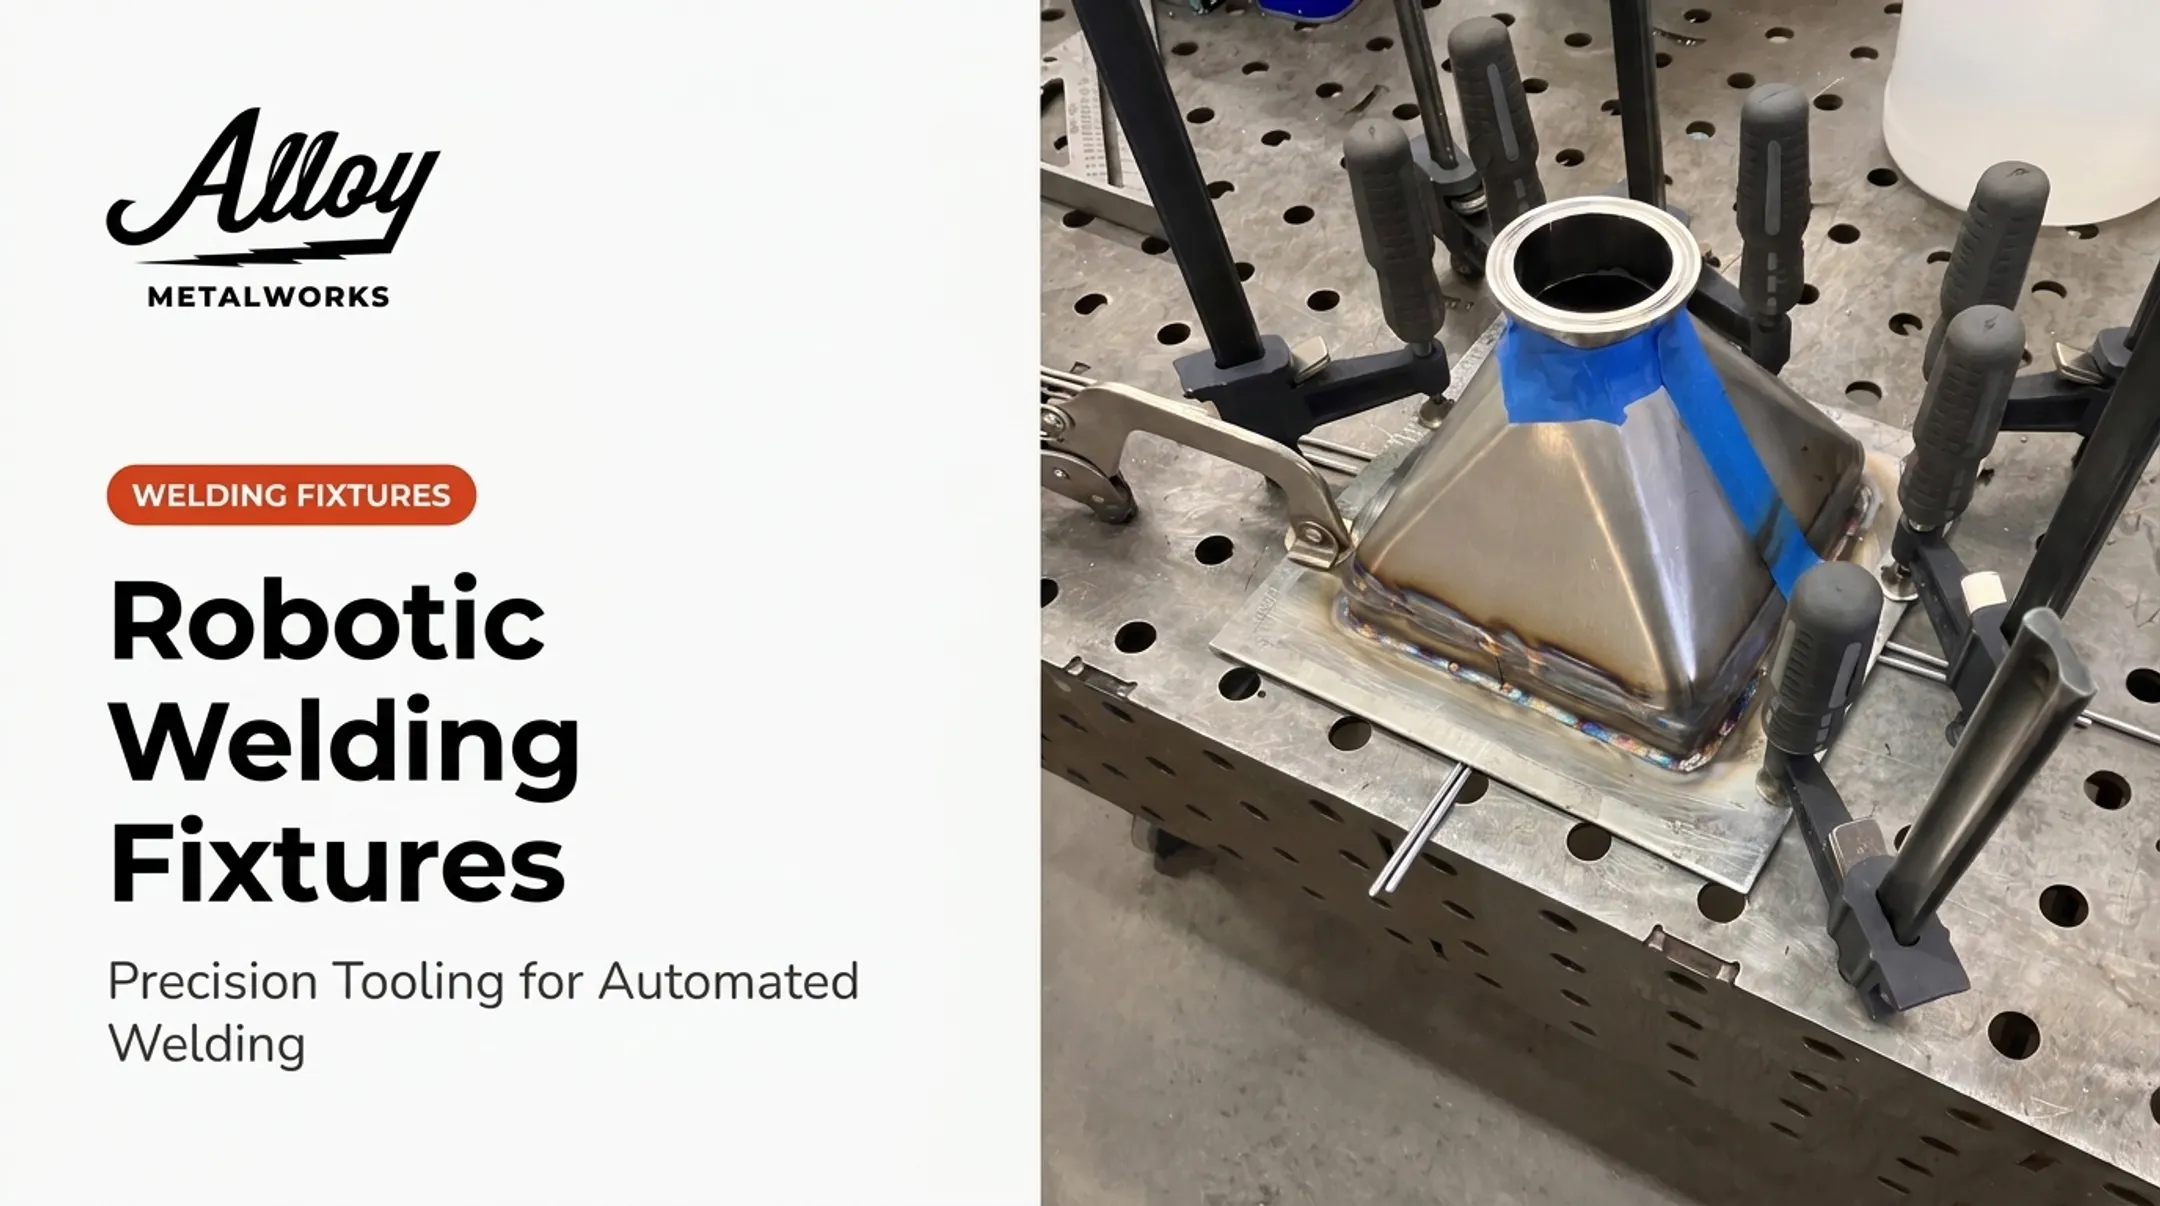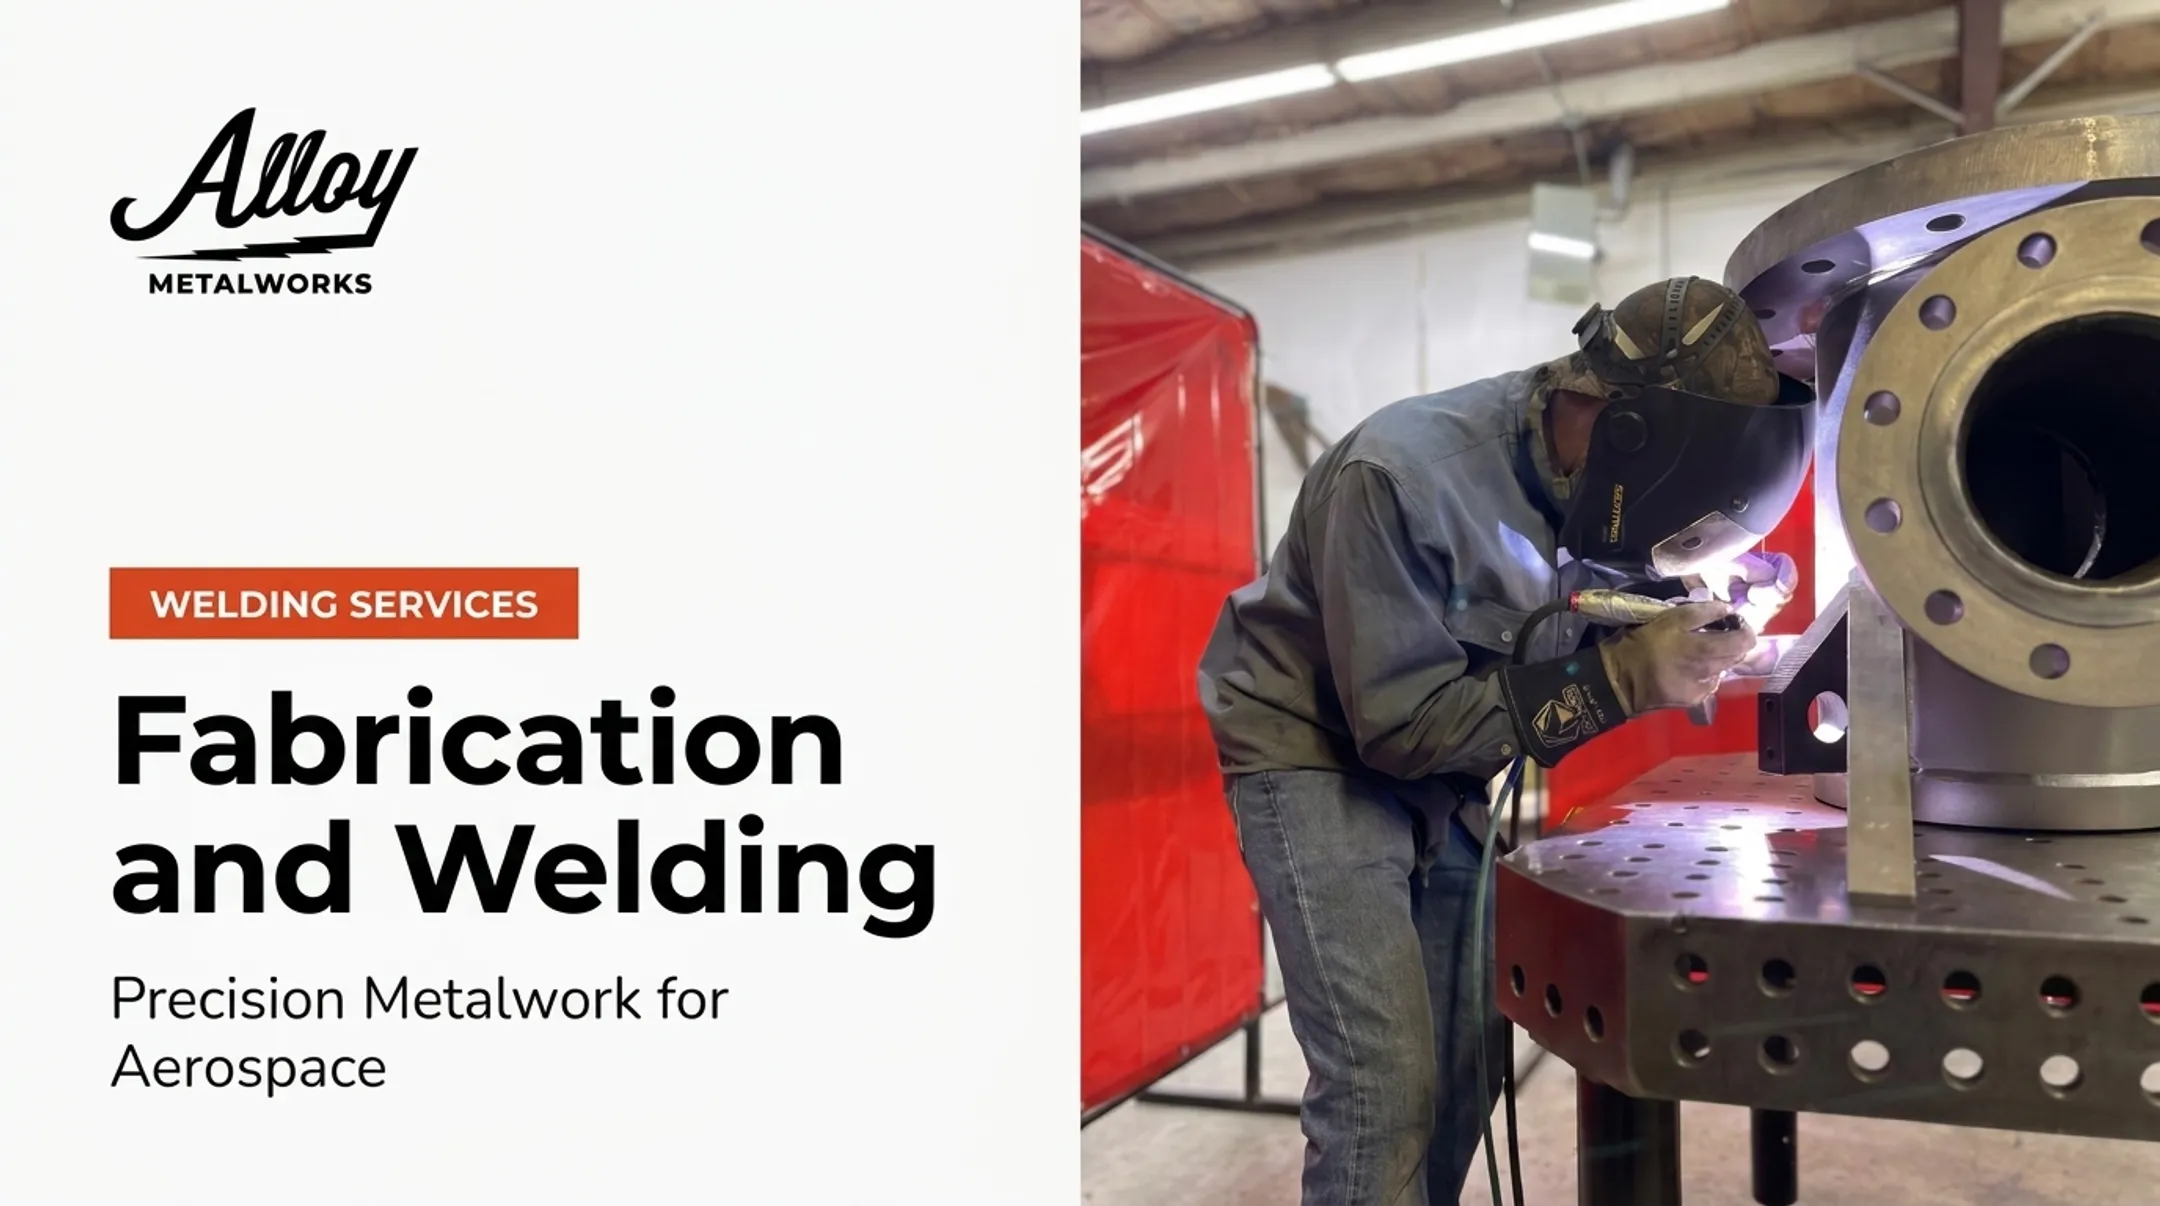

Introduction
A welding fixture has one job: hold parts in exactly the same position, weld after weld, so results match the print every time. That's straightforward on paper. In practice, it's where a lot of aerospace and energy assemblies go sideways.
Poorly designed fixtures cause distortion, blocked torch access, and failed inspections. In regulated industries, that means scrapped flight hardware or energy components that miss code — expensive lessons that show up late in the process, right before delivery.
This guide breaks down fixture types, core design components, and thermal and material considerations. It also covers how professional fixture design supports code-compliant welding of nickel alloys, titanium, and other exotic materials.
Key Takeaways
- Match fixture type—manual, semi-automatic, or automatic—to production volume before locking the design
- Design locating, clamping, and weld access as one system so parts stay accurate and reachable
- Plan for thermal distortion from day one; it is predictable and cheaper to design around than fix later
- Choose steel, copper, aluminum, or tool steel for the heat path and long-term dimensional stability you need
- Keep tryout and inspection records to cut rework and lower compliance risk downstream
Types of Welding Fixtures
Fixture selection depends almost entirely on production volume and part complexity, not just budget.
Manual, Semi-Automatic, and Automatic Clamping
Manual fixtures are operator-actuated and simplest to build. They fit short runs, prototypes, and specialty alloy work where part geometry still shifts between builds.
Semi-automatic fixtures allow clamp and unclamp mid-program. This matters for complex assemblies that need multi-angle access, such as a bracket that needs the torch on three different faces before the weld is done.
Automatic (pneumatic/hydraulic) fixtures suit high-volume, repeatable production. Automated clamping can reduce actuation labor and add sequencing so parts load the same way every time.
Retrofitting automation onto a process that relied on an operator's hand-feel for fit-up can backfire. According to The Fabricator, variation a person used to correct manually often goes straight to the reject pile.

Modular Systems and Positioners
Modular fixturing uses perforated tables with removable plates, stops, and adjustable brackets. That setup gives high-mix, low-volume shops flexibility without building a new fixture for every part number.
For bulky or geometrically complex weldments, positioners, rotators, and manipulators add rotational access that a fixture alone can't provide. These range from manual tilt units to fully synchronized automated systems, and shops typically see fewer missed welds and less rework.
A positioner still needs a proper locating scheme underneath it. Rotation doesn't fix a bad datum setup.
3D-printed fixtures work for prototyping and low-volume tryout, especially when geometry changes fast. They're not a substitute for hardened steel near the arc, but as a low-cost way to test a locating scheme before cutting metal, they earn their place.
Core Components and Design Fundamentals
Every fixture, regardless of type, needs the same underlying architecture.
Base Frame and Table
Rigidity and flatness matter more than any single thickness number. Load, span, part mass, and allowable distortion all drive the spec. There's no universal "correct" table thickness. Square or rectangular structural steel tubing is a common, economical framework choice because it resists flex under clamping load.
Locating Scheme
Fixtures should reference the same datums as the assembly print. The standard approach uses 3-2-1 principles: a primary plane, secondary plane, and tertiary plane, with hard stops and round/diamond pin pairs preventing over-constraint. Every fixture component should trace back to that primary datum directly.

Clamping and Access
- Manual toggle and swing clamps work fine for lower-volume runs
- Pneumatic clamps add speed and consistency at higher volume
- Clamp placement must never block torch or robot path — obvious until mid-build, when the clamp arm sits right in the gun swing
Wear Parts, Grounding, and Maintenance
Locator pins, rest pads, and clamp tips take the daily abuse. Build them hardened, doweled, and replaceable:
- Locator pins and bushings
- Rest pads and clamp tips
- Hard stops in high-carbon tool steel to resist deformation under repeated clamping Grounding matters too. OSHA requires the welding machine frame to be grounded and prohibits using cranes, hoists, or wire ropes as current-carrying paths. A fixture that doubles as a return circuit needs bonded joints and adequate current collectors to prevent arc-blow damage.
Managing Thermal Distortion and Material Selection
Weld shrinkage isn't random. As weld metal cools, the surrounding base metal restrains contraction, building up stress. Release that restraint and the part moves : sometimes right off the fixture, sometimes weeks later in service.
The fix isn't clamping everything down as hard as possible. Core rule: restrain critical datum features while allowing controlled movement elsewhere. Over-constrain a part and it can look perfect in the fixture, then distort the moment you unclamp it.
Material Tradeoffs
| Material | Best for | Watch out for |
|---|---|---|
| Mild/structural steel | Economical framework | Poor heat sinking |
| Tool steel | Hard stops, locators | Low thermal conductivity |
| Copper | Heat sinking, current return | Softness unless alloyed for wear |
| Aluminum | Heat sinking | High thermal expansion that hurts repeatability |

This selection gets more critical with high-performance alloys. Alloy Metalworks' own shop practice flags carbon-steel fixtures as a contamination risk for alloy work — vises, chucks, and work surfaces made of carbon steel can embed iron particles into a titanium or nickel-alloy surface, leaving a corrosion site that shows up later. Non-ferrous or protected fixture surfaces avoid that problem entirely.
Exotic Alloy Considerations
Fixture material is only half the thermal problem. Exotic alloys also dictate how you shield heat and control motion during the weld.
- Titanium: Needs inert gas protection well beyond the puddle; it absorbs oxygen and nitrogen at elevated temperatures. Custom purge chambers and gas setups keep coverage stable across grades, including AWS D17.1 Class A flight-critical work.
- Nickel alloys (Inconel, Hastelloy): Highly heat-input sensitive—too much heat risks distortion and metallurgical damage; too little sacrifices fusion.
On a recent Inconel 617 build, Alloy Metalworks paired a rotating fixture with an adjustable torch-holder on the orbital system so heat input and torch angle stayed controlled through the joint.

Fixture Design for Compliance-Driven Industries
Aerospace, energy, and sanitary/pharma work all carry documentation requirements that go beyond "does the part fit."
Why Documentation Matters
FAA guidance calls for jigs and fixtures rigid enough to prevent misalignment and accurate enough to position parts correctly, plus clean parts before welding even starts. That's the baseline. Customer QMS requirements on top of that often demand tryout records, inspection reports, and fixture revision history tied to each part number.
Mirrored (left/right) fixture pairs and modular, doweled tooling details reduce revalidation time when a part changes. You're not rebuilding a locating scheme from scratch every time an engineering change order comes through.
How This Plays Out in Practice
Alloy Metalworks approaches fixture-dependent projects as engineering collaboration from concept through inspection-ready parts. That's supported by:
- ISO 9001-controlled processes with documentation integrity
- ASME Section IX and AWS D17.1 Class A certification for flight-critical hardware
- AWS D18.1 sanitary welding and USDA 3-A standards for pharma and food-processing systems
- AWS D1.1, D1.2, and D1.6 structural codes for broader fabrication needs
The goal is to pass inspection the first time, not catch a fixture-related problem three parts into a production run.
Cost Considerations and When to Outsource
Simple manual-clamp fixtures sit at the lower end of the cost range. Automated fixtures with sequencing, pneumatic lines, and multiple locators scale up quickly, driven by part size and precision demands.
What drives fixture cost:
- Number of locators and clamp stations required
- Access needs (multi-angle welds cost more to fixture than single-pass joints)
- Automation level: sensors and actuation add engineering time
- Wear-resistance requirements for high-volume runs
- Material choice, especially non-ferrous fixtures for alloy contamination control
Outsourcing fixture design is often the better call for low-volume or highly regulated parts. A partner that already runs qualified procedures—such as Alloy Metalworks—cuts engineering risk and shortens the path from tryout to production.
Choose that route when you need:
- Qualified weld procedures and inspection-ready documentation already in place
- One team handling fit-up validation, welding, and the records trail
- Faster tryout-to-production without handoffs between separate design and fab shops
Frequently Asked Questions
What are the different types of welding fixtures?
Manual, semi-automatic, and automatic clamping fixtures cover most production scenarios, alongside modular systems, positioners, rotators, and manipulators for complex or bulky geometries.
How thick should a welding fixture table be?
There's no single correct thickness. Rigidity and flatness under your specific part load matter more than any universal number. Size the table to your heaviest, largest part and verify with your fixture drawing spec.
What is the difference between a welding jig and a welding fixture?
A jig typically guides a tool through a process, while a fixture holds and locates the workpiece with tighter tolerance control. Welding fixtures also need to keep weld areas accessible, which machining fixtures don't always require.
How much does a custom welding fixture cost?
Cost depends on complexity, automation level, and part size. A simple manual fixture costs far less than a dedicated automated one with sensors and multiple actuation points. Get a quote based on your specific print and volume.
Why does my welded assembly warp even with a fixture?
Clamping doesn't eliminate thermal shrinkage — it can hide movement temporarily and store stress that releases once you unclamp. Usually it points to an over-constrained locating scheme, not welder error.
Can 3D-printed fixtures be used for welding?
Yes, for prototyping and low-volume tryout work. Keep printed sections away from direct arc exposure and use hardened steel inserts near the weld zone for durability.