
Get the heat input wrong, skip proper shielding, or cross-contaminate your tools, and you'll compromise the very corrosion resistance that makes stainless steel valuable in the first place. GTAW, better known as TIG welding, is widely regarded as the best process for precision stainless work. It also demands exacting technique and the right equipment.
This guide covers the fundamentals, the equipment you need, a step-by-step process, common defects, and when your project calls for a certified fabrication partner.
Key Takeaways
- TIG (GTAW) delivers the cleanest, strongest welds on stainless steel through precise heat and filler control
- Low thermal conductivity and oxidation sensitivity make contamination control and heat management non-negotiable
- Tungsten, filler rod, and shielding gas selection directly determine weld quality and corrosion resistance
- Flight-critical, sanitary, or pressure-rated stainless assemblies typically require certified welders and documented procedures
Understanding GTAW/TIG Welding and Why It Suits Stainless Steel
GTAW uses a non-consumable tungsten electrode to create the arc, with an inert gas (typically argon) shielding the weld pool from atmospheric contamination. Unlike MIG or stick welding, the filler metal is added separately, by hand, giving the welder independent control over heat input and deposition.
That separation is what makes TIG workable on stainless steel.
Why Stainless Steel Fights Back
Stainless steel's corrosion resistance comes from a thin chromium-oxide layer that forms almost instantly when the alloy is exposed to clean air. Weld heat disrupts that layer, forming heat tint and depleting chromium right where corrosion resistance matters most.
Stainless also brings physical challenges to the table:
- Low thermal conductivity (~16.2 W/m-K for 304L) traps heat in the joint and raises warping risk
- High thermal expansion (~17.3 × 10⁻⁶/K for 304L) drives more distortion than carbon steel on heat-up and cool-down
- Oxidation sensitivity means any hot metal—face or root—needs continuous shielding
TIG vs. MIG vs. Stick
TIG is slower and has lower deposition rates than MIG or stick welding. It's also harder to automate. So why choose it for stainless?
According to Linde's TIG welding guide, GTAW produces welds generally free of defects, with no spatter, excellent root-pass penetration control, and independent control of heat input and filler addition. For thin sections, aesthetically critical welds, or anything going into a code-controlled system, that level of control outweighs the speed disadvantage. On stainless, controlled root geometry and clean surface condition protect corrosion performance better than higher deposition speed.

Essential Equipment and Consumables for TIG Welding Stainless Steel
Getting stainless TIG welds right starts before the arc ever strikes.
Machine Setup
Use DC straight polarity (DCEN) for most stainless work. A high-frequency start avoids tungsten contamination from touch-starting, and a foot pedal gives you real-time amperage control as heat builds in the joint. That pedal control lets you taper current at the end of a weld to avoid crater cracking.
Tungsten Electrode
2% lanthanated tungsten is a common commercial choice for stainless — stable arc starts and solid current-carrying capacity.
Whatever electrode you choose:
- Specify it by AWS A5.12 classification and diameter, not just a color band
- Grind to a sharp point for a focused, stable arc
- If using thoriated tungsten, capture grinding dust properly
Shielding Gas
100% argon is the standard starting gas for most stainless TIG work
Argon/helium blends (commonly 75/25) add penetration for thicker material, since helium transfers more heat into the joint
Back-purging equipment is essential for pipe and tube root welds to protect the underside from oxidation
Gas lens improves coverage in tight or awkward joints where standard collets create turbulence
Filler Rod
Match filler to base metal chemistry:
| Base Metal | Common Filler | Use Case |
|---|---|---|
| 304/304L | ER308L | General-purpose stainless |
| 316/316L | ER316L | Higher corrosion resistance, chemical service |
Keep rods clean and dry — contaminated filler is a common source of porosity and inclusions in stainless TIG welds.

Step-by-Step Process for TIG Welding Stainless Steel
Preparation and Setup
- Use dedicated stainless-only tools: brushes, grinding discs, and clamps that have never touched carbon steel
- Clean the joint with acetone or a stainless-specific brush to remove oil, oxide, and residue
- Set your gas flow: ESAB's TIG guide recommends 12-20 CFH (6-10 L/min) for standard cups, adjusting upward for gas lenses or larger nozzles
- Confirm nozzle/gas lens sizing matches your joint geometry
Welding Technique
Keep the puddle stable and the heat input predictable with these controls:
- Hold an arc length of roughly 1/8 in (3 mm); a longer arc invites wandering, oxidation, and porosity
- Angle the torch about 10-15 degrees in the direction of travel
- Meter heat with the foot pedal, not travel speed alone
- Move steadily so heat does not stack up and cause warping or burn-through
- Add filler at the leading edge of the puddle, never into the arc where it can contaminate the tungsten

Back Purging and Post-Weld Care
For pipe and thin sheet root welds, back purge with argon to displace oxygen on the underside. Without it, you get "sugaring," a rough, oxidized root that fails inspection and traps contaminants in sanitary applications.
After welding:
- Let the part cool naturally when possible
- Wire brush or passivate per the governing specification
- Inspect for tint, root condition, and profile before sign-off
Advanced Technique: Pulsed TIG for Better Control
Pulsed GTAW alternates between a peak current (which establishes the puddle) and a background current (which lets the joint cool slightly), reducing overall heat input compared to continuous current.
A Fabricator/Tube and Pipe Journal report on high-speed pulsed GTAW documented:
- Up to 52% narrower beads
- 34% greater penetration
- 60% lower heat input
- 35% higher travel speed
That combination is particularly valuable for thin stainless sections, where minimizing distortion often matters as much as the weld itself. A narrower heat-affected zone also means less chromium depletion around the fusion line, preserving corrosion resistance right where the metal was most vulnerable.
Independent research supports the same heat-control pattern. A 2022 study on orbital welding of AISI 304L pipe found pulse-current GTAW produced a smaller heat-affected zone than continuous current, with deeper penetration at higher peak current.

Pulsed TIG isn't a guaranteed fix for every project. For code-critical thin-wall assemblies, though, it's a technique worth qualifying into your weld procedure.
Common Defects and Troubleshooting
Three defects show up often on stainless TIG work. Each has a clear cause and a practical fix.
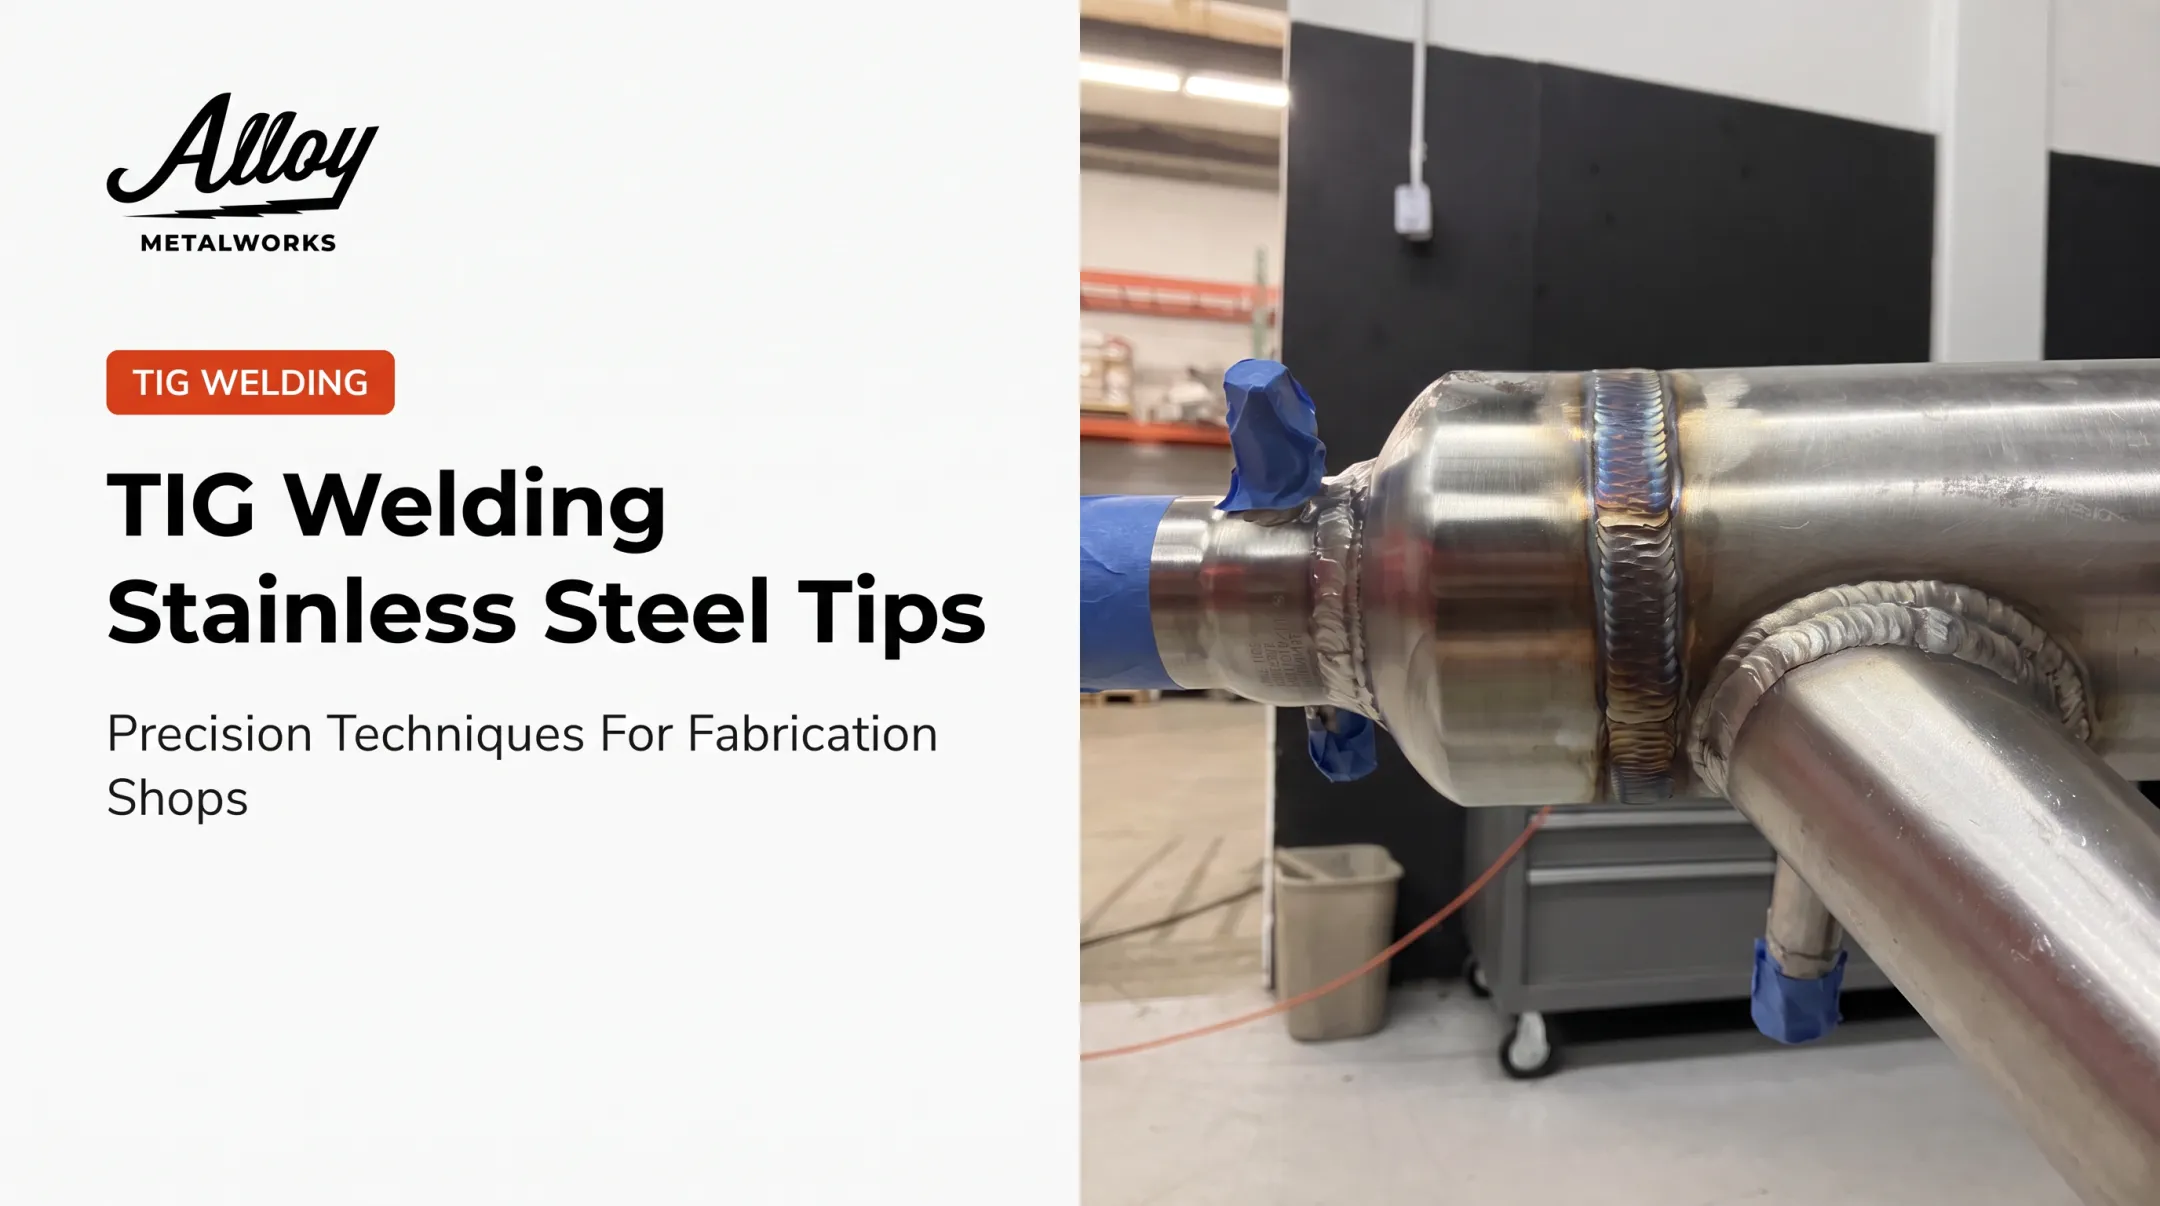
Heat tint and discoloration happen when shielding gas coverage is inadequate or post-flow cuts off too soon. Slower travel with excessive heat makes tint worse, not better. Correct it with:
- Proper gas flow and torch coverage
- Adequate post-flow after the arc stops
- Post-weld cleaning or passivation
Porosity traces back to contamination — oil, moisture, or dirty filler rod introducing gas into the weld pool. Prevention steps:
- Clean the joint and filler thoroughly before welding
- Verify gas purity and consistent flow
- Avoid excessive gas flow, which entrains air instead of blocking it
- Check for leaks in gas lines and fittings
Warping and distortion stem from excessive heat on thin components combined with stainless steel's high thermal expansion. Address it with:
- Minimum heat input consistent with full fusion
- Balanced tack welding and sequencing
- Proper clamping and fixturing
- Pulsed TIG where the procedure allows it
When Precision Stainless Welding Requires a Certified Partner
Some stainless steel projects carry real consequences if the weld fails. Flight-critical hardware, pressure-rated piping, and sanitary process equipment usually fall under codes like ASME Section IX, AWS D18.1 (sanitary/hygienic applications), or AWS D1.6 (structural stainless steel). Each demands qualified procedures, qualified welders, and full documentation and traceability.
Skipping that rigor carries risk. We've seen it firsthand: a previous contractor's stainless piping welds failed inspection because documentation for the welds, procedures, and welder qualifications simply didn't exist.
Alloy Metalworks rebuilt the system on-site, performing in-house borescope and dye penetrant testing before a certified third party completed magnetic particle testing to ASME B31.3.

Alloy Metalworks operates as a Colorado-based fabricator under ISO 9001-controlled processes, with welders certified to ASME Section IX, AWS D18.1, and AWS structural codes including D1.1 and D1.6.
Engineering support starts before the torch is struck:
- Weld procedure development
- Heat-input and distortion control
- Material-specific contamination-risk mitigation
That upfront work prevents rework, failed inspections, and downstream delays.
We work with aerospace, energy, and research organizations across Colorado on stainless systems ranging from sanitary process piping to structural assemblies. If your project touches code-critical stainless work, contact our team early to avoid expensive surprises later.
Frequently Asked Questions
Can you TIG weld stainless steel?
Yes. TIG (GTAW) is one of the best methods for stainless steel because of its precise heat control, clean shielding, and minimal spatter. It's especially well-suited to thin sections and welds where appearance and corrosion resistance both matter.
What shielding gas is best for TIG welding stainless steel?
100% argon is the standard choice for most stainless TIG work. For thicker sections needing more heat input, an argon/helium blend (often 75/25) improves penetration.
What filler rod should I use for stainless steel TIG welding?
Match the rod to your base metal grade. ER308L works for 304/304L stainless, while ER316L offers higher corrosion resistance for 316/316L or more aggressive chemical environments.
Why does my TIG weld on stainless steel turn discolored?
Discoloration signals oxidation from inadequate shielding gas coverage or insufficient post-flow time. Increase your gas flow rate, extend post-flow, and clean or passivate the weld afterward.
Do I need to back purge when TIG welding stainless steel pipe?
Yes, for full-penetration root welds. Back purging with argon protects the underside from oxidation, producing a clean, silver root rather than a rough, oxidized "sugared" one.
How do I prevent warping when TIG welding stainless steel?
Minimize heat input without sacrificing fusion, use proper fixturing and clamping, sequence your welds to balance heat distribution, and consider pulsed TIG for thin sections where distortion control is critical.